Choose your video
Add an existing clip and preview it right here before choosing your output.
 Sharper.video
Create AI videos. Edit, extend and upscale in one place.
By continuing, you agree to our Terms of Service and Privacy Policy.
A clearer next step for your video
Enhance your video to 720p, 1080p or 4K. Choose 30 or 60 fps and see your credit cost before you start.
Add an existing clip and preview it right here before choosing your output.
Select 720p, 1080p or 4K and 30 or 60 fps. Your total credits update with your choices.
Submit your video, follow its progress in My Videos and download the enhanced result when it is ready.
Four videos. A closer look.
Compare the original and enhanced videos, with the output settings and processing time shown for each example.
Look at the eyes, individual strands of hair and the light across the face. Compare the portrait at its original size with the higher-resolution enhanced output.
This video could not be loaded.
This video could not be loaded.
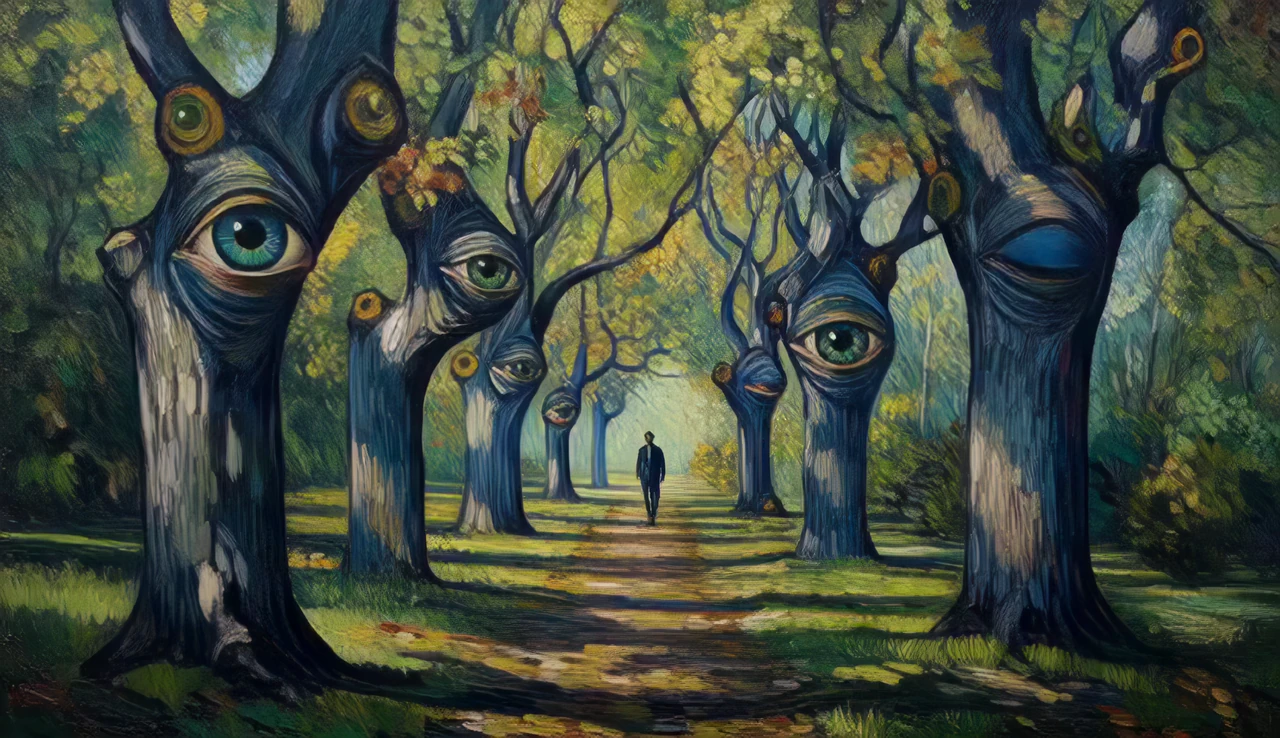
Follow the branches and eyes in this animated tree artwork. Compare the painted textures, fine lines and small patterns as the scene moves.
This video could not be loaded.
This video could not be loaded.
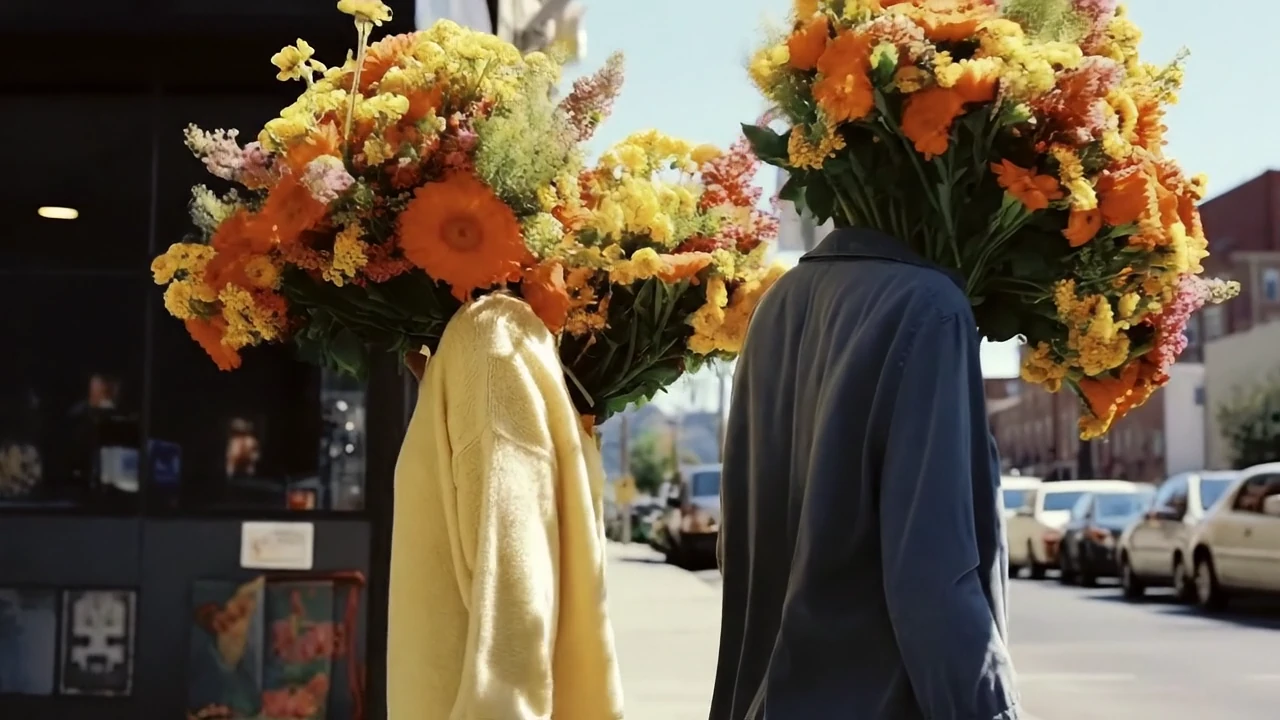
Explore a surreal city filled with flowers. Look closely at petals, clothing textures and architectural edges throughout the camera movement.
This video could not be loaded.
This video could not be loaded.
Compare the café scene in its original vertical framing. Look at the person, clothing and interior lines as the video moves.
This video could not be loaded.
This video could not be loaded.
Processing time varies with the video, output settings and current demand.
Make the right choice
Match your output to where the video is going. Higher resolution creates a larger frame; the source still determines how much detail can be improved.
Choose HD when a smaller output meets your project’s requirements and you want to spend fewer credits.
Choose Full HD for everyday sharing, creator content and projects that call for 1080p delivery. It is the default setting here.
Choose 4K when your project or display calls for a larger frame. Review the additional credits before you submit.
Resolution describes the frame dimensions. Frame rate describes how many frames the output contains each second.
A useful starting point when your project does not require a higher frame rate. It uses half the credits of 60 fps at the same resolution.
Choose 60 fps for projects that require more frames per second. It costs twice as many credits at the same resolution; results still depend on the original footage.
Know the cost before you start
Your input video length and output settings determine the cost. Time spent waiting or processing does not add to the billable video length.
| Output resolution | Frame rate | Credits per 5 seconds |
|---|---|---|
| 720p | 30 fps | 1 credit |
| 720p | 60 fps | 2 credits |
| 1080p | 30 fps | 4 credits |
| 1080p | 60 fps | 8 credits |
| 4K | 30 fps | 16 credits |
| 4K | 60 fps | 32 credits |
Try a video length and output setting. This estimate does not change your selected upload.
12 seconds → 3 × 5-second blocks × 32 credits = 96 credits.
For example, 5.00 seconds uses one block; 5.06 seconds uses two. A 12-second video uses three blocks: 12 credits at 1080p / 30 fps or 96 credits at 4K / 60 fps. Your selected video’s block count appears beside the Enhance Video button.
Give your next project more room
Start with a video you already have, then select an output that fits your next edit, presentation or post.
Prepare a higher-resolution version of a generated clip for your next project. Inspect fine details and motion before choosing your final export.
See the animated artwork example →Choose Full HD for everyday content or 4K when your project calls for it. Match the frame rate to the video you plan to deliver.
Compare the portrait example →Create a Full HD or 4K version for a brand story, presentation or campaign edit. Review textures and scene detail in the enhanced result.
Explore the cinematic example →Work with portrait clips for mobile viewing. The café example shows a 480 × 864 input enhanced to a 600 × 1080 vertical output.
See the vertical example →Two ways to take the next step
Try our free tool for a compatible short clip, or choose this AI Video Upscaler when you need a specific output resolution and frame rate.
Double the source dimensions with the free browser-based tool on a supported device.
Select the resolution and frame rate your project needs, with your credit cost shown before you start.
Before you press enhance
Answers about output quality, frame rates, credits and where to find your enhanced videos.
Have another question? Contact support →An AI video upscaler creates a video at a higher output resolution and aims to improve its visual clarity. Sharper.video lets you choose 720p, 1080p or 4K and 30 or 60 fps. The final result depends on your source; increasing the frame size does not guarantee recovery of detail that was missing from the original.
Yes. Choose your video, select 4K, choose 30 or 60 fps and review the total credits before submitting. The examples above play the enhanced output directly; use fullscreen to take a closer look. Actual pixel dimensions depend on the video: the portrait example is 3744 × 2160, while the cinematic example is 3840 × 2160.
Choose 720p when HD meets your needs and you want a lower credit cost. Choose 1080p for a Full HD version suitable for everyday sharing and content projects. Choose 4K when a larger output frame is part of your delivery requirements. Compare your project’s requirements with the credit rates; a higher resolution cannot guarantee a better result for every source.
Frame rate is the number of output frames per second; resolution is the size of each frame. The default is 30 fps. Choose 60 fps if your project requires the higher frame rate. At the same resolution, 60 fps uses twice the credits of 30 fps. Source motion and quality still affect how the final video looks.
Each 5-second block of input video costs 1 credit at 720p / 30 fps, 2 at 720p / 60 fps, 4 at 1080p / 30 fps, 8 at 1080p / 60 fps, 16 at 4K / 30 fps or 32 at 4K / 60 fps. Partial blocks round up. For example, 12 seconds uses three blocks and costs 96 credits at 4K / 60 fps. Use the credit calculator to compare settings.
The four examples on this page took about 2 minutes for the portrait, 2 minutes for the animated artwork, 8 minutes for the cinematic scene and 1 minute for the vertical café clip. These are the recorded times for those examples. Processing time varies with your video, output settings and current demand; it does not increase the billable video length.
After your task is successfully created, you are taken to My Videos. Follow the task’s status there, then play or download the enhanced result when it is ready. Your original file remains the source for the enhancement.
Wait until your upload finishes and the task has been successfully created in My Videos. Once the task appears there, enhancement can continue while you leave the page. Keep the page open while a file is still being uploaded or a task submission is still in progress.
Yes. You can upload an existing AI-generated clip that passes the input checks, then choose your output resolution and frame rate. The animated artwork and cinematic examples show possible material to compare. Inspect the result for the details and motion that matter to your project.
Yes. The vertical café example uses a 480 × 864 input and a 600 × 1080 enhanced output at 60 fps. It retains the portrait framing in the comparison. Check the actual output dimensions rather than assuming that every 1080p video is a landscape 1920 × 1080 file.
Yes. The separate Free Video Upscaler offers 2× upscaling for compatible short videos on supported devices, subject to its tool limits. This AI Video Upscaler uses credits and offers selectable 720p, 1080p or 4K output with 30 or 60 fps. Creating an account does not make credit-based enhancement unlimited or free.
No. Results depend on the original footage, including its detail, compression and motion. Upscaling can produce a higher-resolution output and may improve perceived clarity, but it cannot guarantee reconstruction of every missing detail or removal of every blur. Start with the best original file available and compare the enhanced result before using it in your project.
Keep creating
Choose your clip, set your output and see the credits before you start.
Upload Your Video